Tìm hiểu về công nghệ nhận dạng và xử lý hình ảnh
Frequency Separation is an extremely powerful technique when used correctly, but often gets misused and abused by beginner retouchers. It can easily ruin your image if you slap it on without understanding how it works and the logic behind it but will do wonders for you if you take the time to really understand the concept and practice.
⠀⠀⠀⠀⠀⠀⠀⠀⠀
The latest version of the Beauty Retouch panel includes three script variations that will set up all the necessary layers for your Frequency Separation work:
• via Gaussian Blur for 8- and 16-bit images;
• via High Pass (“Custom” button);
• via Median Filter for 8- and 16-bit images.
⠀⠀⠀⠀⠀⠀⠀⠀⠀
Regardless of which script you choose to use, understanding when and how to use it is crucial for its successful application.
⠀⠀⠀⠀⠀⠀⠀⠀⠀
Check out this video that explains the difference between our FS scripts, helps you understand the purpose of the additional layers in the created FS layer groups as well as when it is the best technique to use in your retouching workflow.
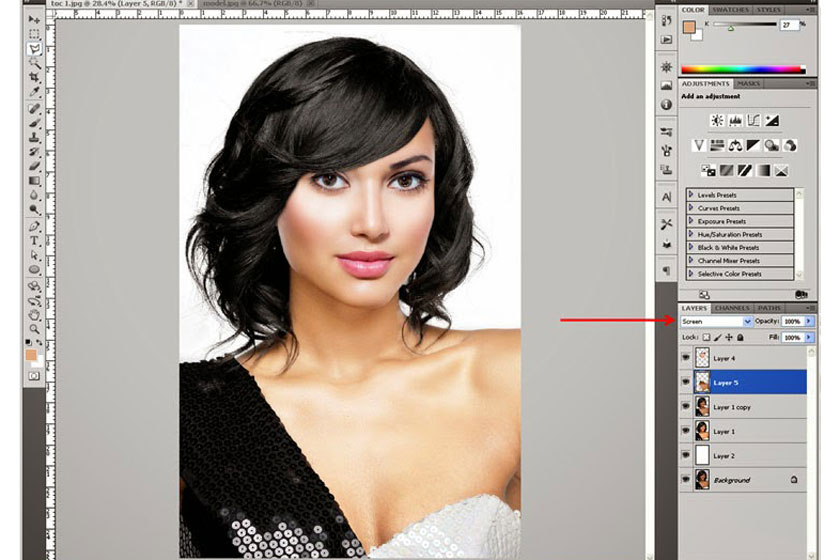
Just like with most retouching tools and techniques, the more you practice the better you will understand which pixel radius numbers to choose, which instruments to use when working on the blank layers between the High and Low Frequency layers, and get more creative in utilizing various Blending Modes and Opacity settings for the best results, depending on the issue at hand.
For more video tutorials for the Beauty Retouch panel users, please visit this page on the RA Lab website:
https://retouchingacademylab.com/video-tutorials-br/ (you have to be logged in to your Member Account to view this page).
Happy Retouching!

